Roof Inspection Checklist for Roofing Contractors (Printable)
Kelvin Spratt
Founder, Supplement Snap · October 23, 2026 · Updated October 23, 2026
Key Takeaways
A practical roof inspection checklist covering exterior, flashing, attic and decking, plus how to document findings for a client or insurance claim.
Preparing a supplement? Use the free checklist so nothing is missing when you submit.
Why use a roof inspection checklist
A checklist keeps every inspection consistent, so you do not skip the same detail on a busy day. It also gives you a record you can show a homeowner or attach to an insurance claim.
This list is a general starting point. Adapt it to your roof types, local building codes and manufacturer requirements. For the report that follows the inspection, see how to write a roof inspection report.
Free download
Roof damage report template
Job details, roof summary, numbered findings, recommendations, a photo index and a photo checklist.
Fillable PDF: open it in a PDF reader such as Adobe Acrobat Reader to type into the blanks. Some phone and browser previews cannot.
See all free roofing templates →
No email or sign-up needed. General guidance, not legal advice. Adjust it to your carrier's, client's and state's requirements.
Exterior roof surface
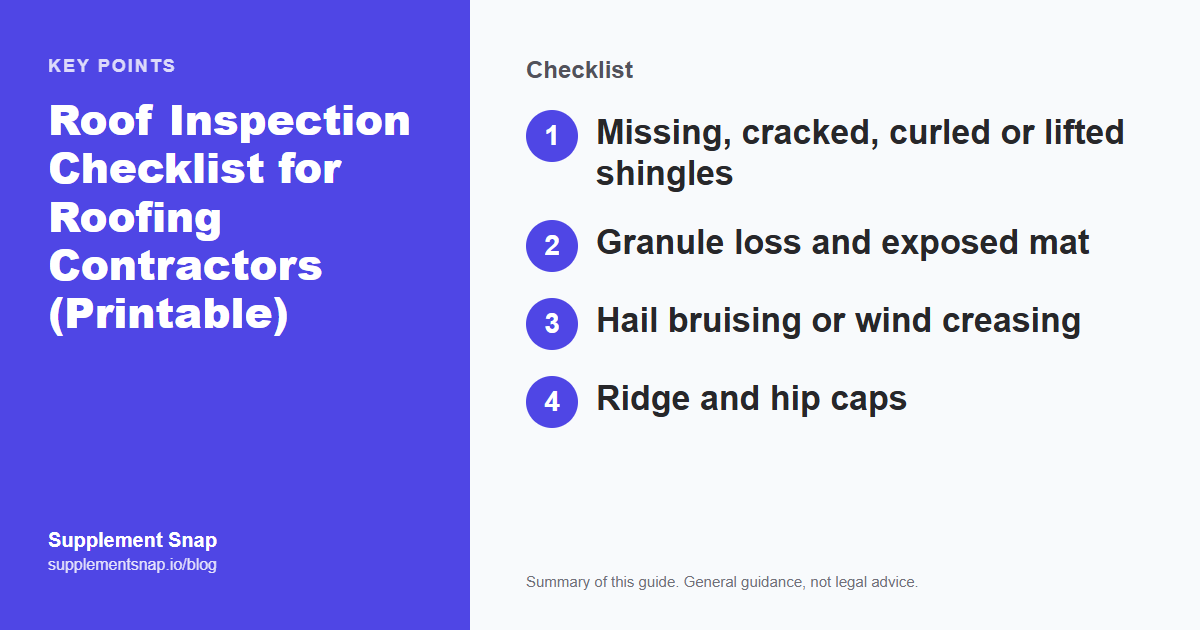
Walk or view the roof in a consistent order, such as slope by slope. Look for missing, cracked, curled or lifted shingles, granule loss, exposed fasteners and signs of hail bruising or wind creasing. Check ridge and hip caps, and look at gutters and downspouts for clogs, granules and damage.
Photograph each finding with a wide shot for location and a close shot for detail. For storm work, the hail damage inspection guide goes deeper on what to look for.
Exterior checklist
Capture this on the roof, not from memory.
Supplement Snap lets your crew take photos and voice notes at tear-off and drafts a report you review before sending. Your first project is free.
Flashing, valleys and penetrations
Most leaks start at the details, not in the middle of a shingle field. Check pipe boots, chimney and wall flashing, valleys, skylights and vents. Look for cracked or dried sealant, lifted flashing, rust, gaps and debris that holds water.
Note the exact location of each finding so someone else can find it later. Labeling photos by slope or roof area keeps the report clear.
Flashing and penetrations
Attic, decking and structure
From the attic, check the underside of the decking for water stains, dampness, daylight and mold. Look at rafters and trusses for cracks, bowing or rot, and check ventilation and insulation. From the roof, feel for soft spots or sagging.
Rotted decking is often found only at tear-off. If you discover it then, document it with photos and measurements. See how to document rotted decking at tear-off.
Attic and structure
Documenting findings
Good documentation records what you saw, where, and the photo that shows it. Avoid guessing at cause in the field notes unless you can support it. Date the inspection, name the address and keep the photos with the notes.
For an insurance claim, a clear package makes it easier for the adjuster to follow your findings. The roof damage report template and the free supplement checklist show what to include.
After the inspection
Give the homeowner a written summary with the findings, the recommended work and the reasons. Be factual about what is storm damage, what is wear and what is unclear. If the roof is part of an insurance claim, tell them the carrier decides coverage and that you can supply documentation.
Keep your photos organized by address and date so you can find them if the claim reopens or the carrier asks questions.
Safety comes first
Use proper fall protection and follow your company and OSHA rules. If a roof is wet, steep or looks unsafe to walk, document from the ground or by drone instead.
Where Supplement Snap fits
Supplement Snap lets a crew capture photos, label the roof area and add notes by typing or voice, then builds a report for the adjuster. It is built for insurance restoration documentation, not as a full inspection or measurement platform. See how it works or view the sample report.
Frequently asked questions
What should be on a roof inspection checklist?
Exterior surface condition, flashing and penetrations, valleys and gutters, attic and decking condition, structural members and ventilation, plus photos and notes for each finding.
How long does a roof inspection take?
It varies with roof size, pitch and complexity. A thorough inspection with photos and attic access usually takes longer than a quick visual check.
Do I need to go on the roof?
Often, but safety comes first. Use fall protection, and if conditions are unsafe, document from the ground or with a drone.
What photos should I take for an insurance claim?
Wide shots to show location, close-ups to show detail, and labeled photos by slope, with the date and address recorded.
Is there a free printable checklist?
Yes. The free roofing supplement checklist on this site covers documentation for hidden damage and claim packages.
References & Resources
Free tools and resources
Ready to streamline your supplement process?
Supplement Snap helps your crew capture hidden damage during tear-off and generate adjuster-ready reports in minutes.
Written by
Kelvin Spratt
Founder, Supplement Snap
Kelvin builds software for roofing contractors who are tired of leaving supplement money on the table. His background in software development and insurance restoration workflows drives everything Supplement Snap does.