Roofing Photo Documentation Checklist: What to Photograph at Tear-Off
Kelvin Spratt
Founder, Supplement Snap · October 22, 2026
Photos Per Finding
3 Views
Wide for location, medium for context, close-up for detail
Key Takeaways
What roofers should photograph at inspection and tear-off for insurance claims: required shots, hidden damage, labels and a checklist adjusters accept.
Preparing a supplement? Use the free checklist so nothing is missing when you submit.
Why photos decide whether a roofing claim item is paid
An adjuster who was not on your roof relies on your photos to understand it. If an item is not in a photo, it is very hard to get paid for. If it is in a photo but unclear, it invites a question or a denial.
Good photo documentation does three jobs. It proves the damage exists, it proves where and when it was found, and it connects each photo to a line item. Do those three things consistently and most supplement disputes get easier.
Free download
Roofing crew documentation checklist
A one-page routine for before tear-off, during tear-off and before the crew leaves.
Fillable PDF: open it in a PDF reader such as Adobe Acrobat Reader to type into the blanks. Some phone and browser previews cannot.
See all free roofing templates →
No email or sign-up needed. General guidance, not legal advice. Adjust it to your carrier's, client's and state's requirements.
The basics: photograph before anything is removed
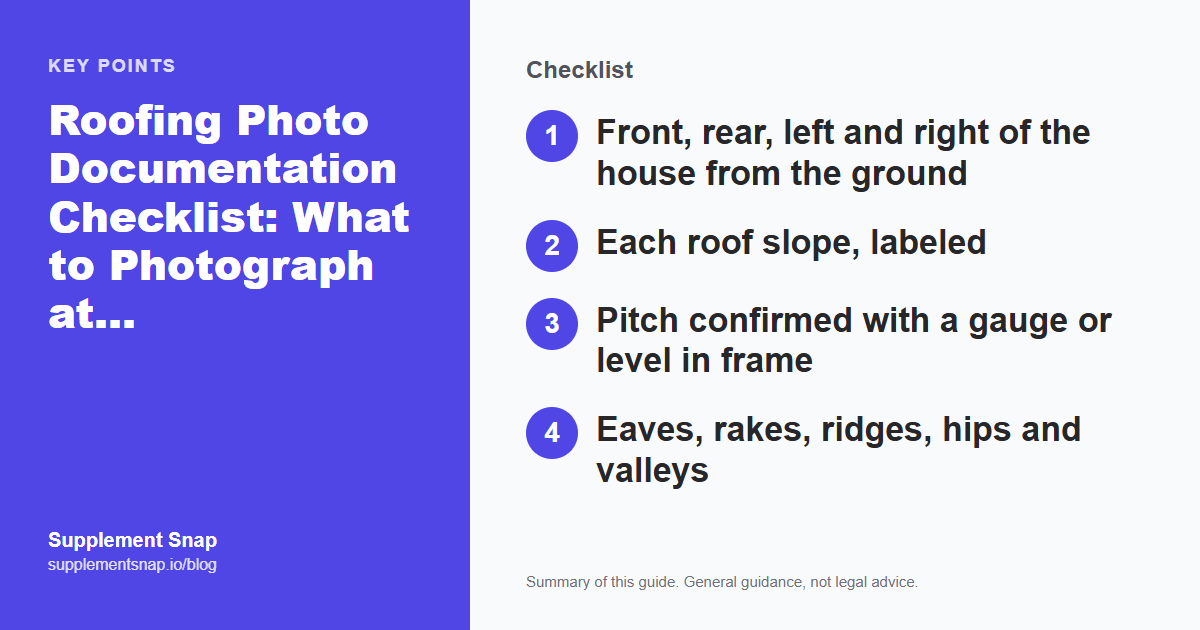
Start every job with photos of the roof as it is. These are the pictures that show condition before work begins and they cannot be retaken later.
The house from four sides
Every slope from a distance and up close
Pitch with a gauge or level in the frame
Existing flashing, vents, drip edge and ridge
Visible damage such as impacts, lifted shingles or granule loss
Then walk the interior of the attic or ceilings if you have access and the homeowner agrees. Stains and wet spots show up in different places than roof damage.
Capture this on the roof, not from memory.
Supplement Snap lets your crew take photos and voice notes at tear-off and drafts a report you review before sending. Your first project is free.
The core checklist
Use the checklist below on every roof. Print it, or keep it in your phone. The goal is a repeatable routine that crews can follow without thinking.
Once you have the baseline shots, add finding-specific photos as you go. Keep every photo in the order taken, because the sequence helps an adjuster follow the story.
Photos to Capture on Every Roof
Hidden damage found at tear-off
This is where supplements are won or lost. The moment shingles and underlayment come off, photograph what is underneath before anything gets covered.
Decking: Photograph soft, stained, cracked or delaminated sheathing. Include a tape measure or a marked area for scale.
Flashing: Show corrosion, separation and gaps from the front and from the side.
Ice and water barrier: Show the bare deck at eaves and valleys where barrier is missing.
Penetrations: Show cracked boots, rusted vents and failed seals.
Extra layers: Show an edge with two layers of old shingles.
Add a chalk circle or marker around each problem and photograph it again. A circled problem is easier to understand than a close-up of a texture.
Label, number and organize
A pile of unlabeled photos forces the adjuster to guess. A short label makes each one useful.
For each finding, record:
What it is, such as rotted decking
Where it is, such as front slope eave
When it was found, such as during tear-off
Which line item it supports
Upload from the roof or the truck instead of waiting until the end of the day. Photos stuck on phones are the most common reason supplements go out late. Our supplement template shows how to lay out labeled photos in a package.
Shoot three views of every finding
Take one wide photo that shows where it is, one medium photo that shows the area around it, and one close-up that shows the condition. Adjusters trust a finding more when they can see all three.
Metadata, originals and honesty
Photos usually carry the date, time and sometimes location, which helps show when and where they were taken. Compressing or editing a photo can strip that information, so keep the original files.
Never alter a photo to make damage look worse, and do not claim damage you did not find. Accurate documentation protects your credibility and your license. If you are unsure whether something is damage, photograph it and note that it needs review.
For what to look for on a storm-damaged roof, see our guide to hail damage roof inspection.
Frequently asked questions
How many photos should I take on a roofing job?
As many as it takes to show every slope, every penetration and every finding in three views. For most residential roofs that is dozens of photos, not a handful.
What photos do insurance adjusters want for a roof claim?
Overall photos of each slope, close-ups of damage, pitch, penetrations, flashing and drip edge, and any hidden damage found at tear-off, all clearly labeled.
Should I photograph the roof before tear-off?
Yes. Pre-work photos show original condition and cannot be retaken after materials are removed.
Do photos need to be geotagged?
Not always, but date and location metadata help show when and where a photo was taken. Keep the original files.
References & Resources
Free tools and resources
Ready to streamline your supplement process?
Supplement Snap helps your crew capture hidden damage during tear-off and generate adjuster-ready reports in minutes.
Written by
Kelvin Spratt
Founder, Supplement Snap
Kelvin builds software for roofing contractors who are tired of leaving supplement money on the table. His background in software development and insurance restoration workflows drives everything Supplement Snap does.